
After spending a good few days unsuccesfully looking for cutting files to cut my own dividers for my new Collins Personal Organizer I had a go at making some myself using my beloved Silhouette cutting machine. And it was surprisingly easy:
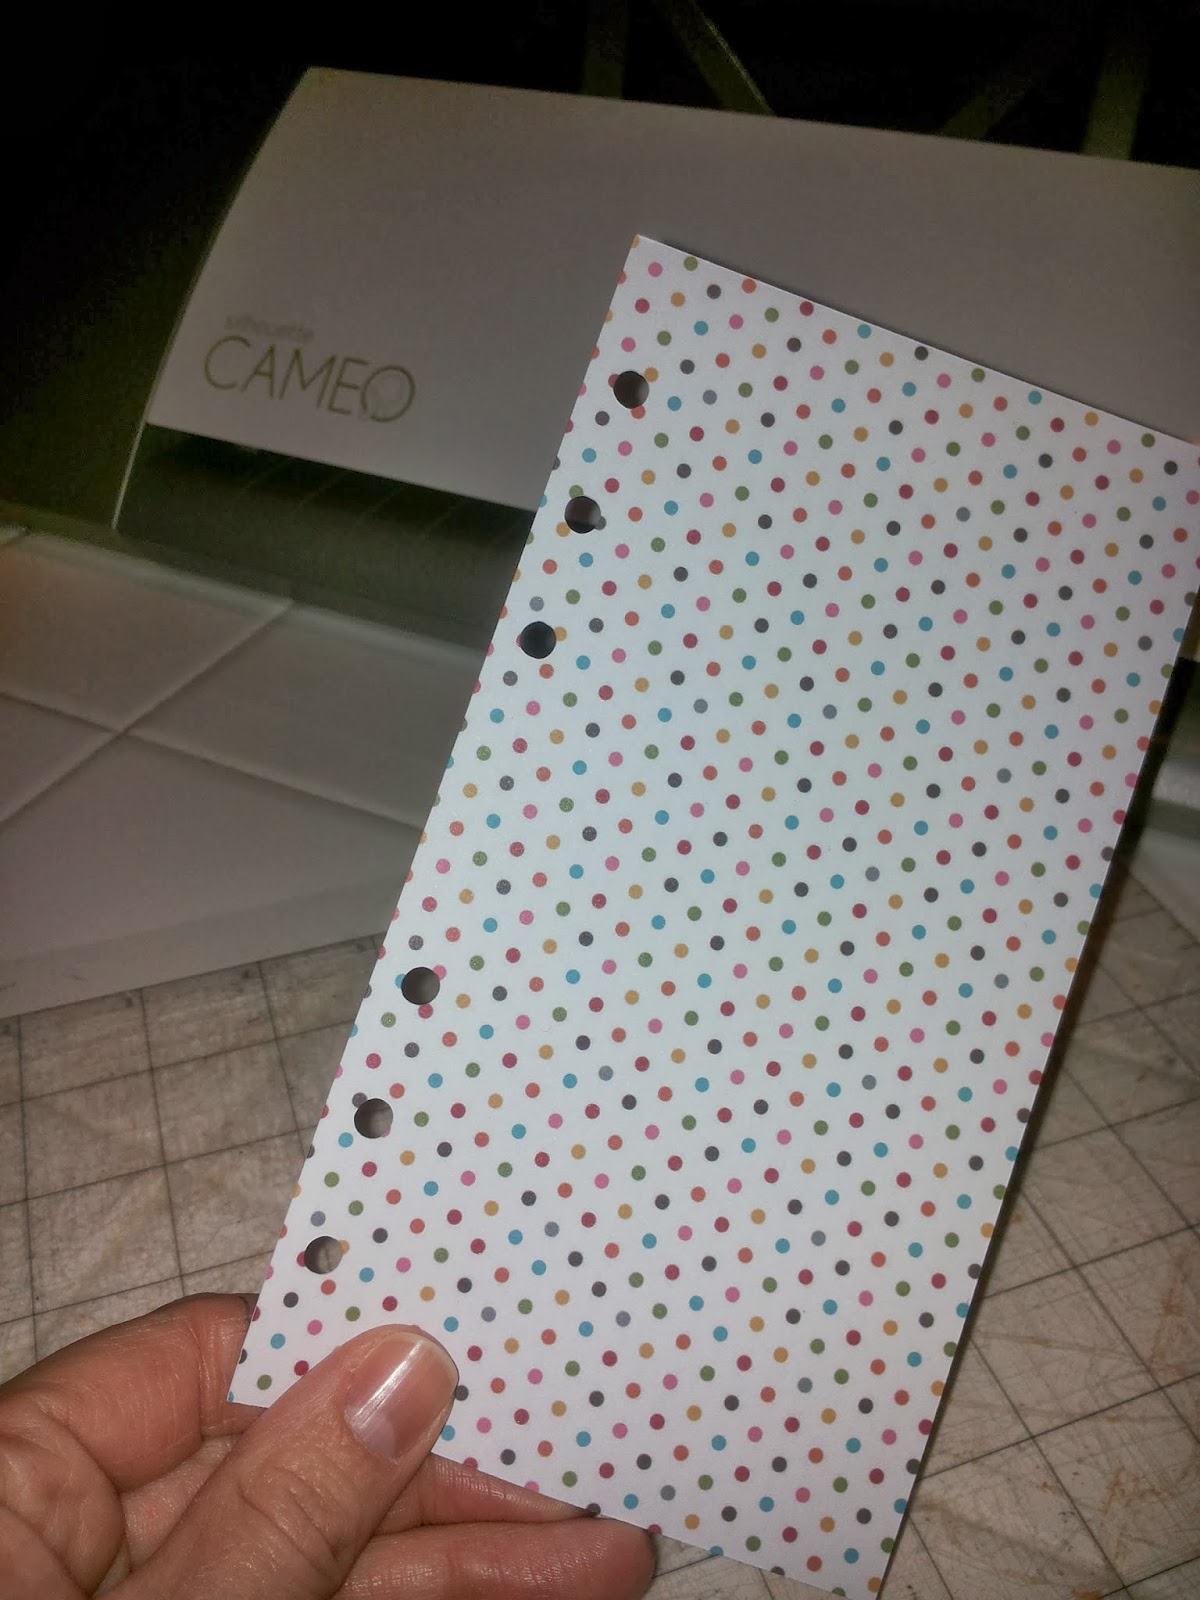
Scan a coloured (white won't work for this) tab or sheet from the planner. Be careful about how you place your original so that your holes (or tabs) will end up on the right side when you cut later on:

Open scanned doc. Make sure you have it
set for opening .jpeg, not Silhouette files or else they won't show
up. Move the scanned shape slightly away
from the edge, it will be easier to work with later.

Click on the 'Open Trace window' blue and
yellow button in upper right corner. And then, in the right hand
menu, click on 'Select trace area' at the top. Draw a box around the
shape.

Now the important bit: go to trace
settings and unclick 'High
Pass Filter', click
'Low Pass Filter' and then start moving the 'Threshold' slider up
till your entire shape is a solid yellow. For me that was around '88'
but it will differ depending on the colour of your original scan. Don't
go all the way to 100% or you'll loose the punch holes.

Now press 'Trace' at the top and a red
outline will appear:

You can now remove the original scanned
image from the red cut lines. And then before doing anything you SAVE
your file as a Silhouette file so you can re-use this as often as you like.

Time for cutting!
Click 'Send to Silhouette' button at
the main menu bar and follow cutting instructions. Happy cutting!

Let me know how you get on!
you did a fabulous job on this tutorial Sonja !
BeantwoordenVerwijderenThanks Debbie!
Verwijderenthis is a great tutorial! i'm going to give it a go, thank you!
BeantwoordenVerwijderenEnjoy nailgirl!
VerwijderenWait, but how did you cute the actual tabs?
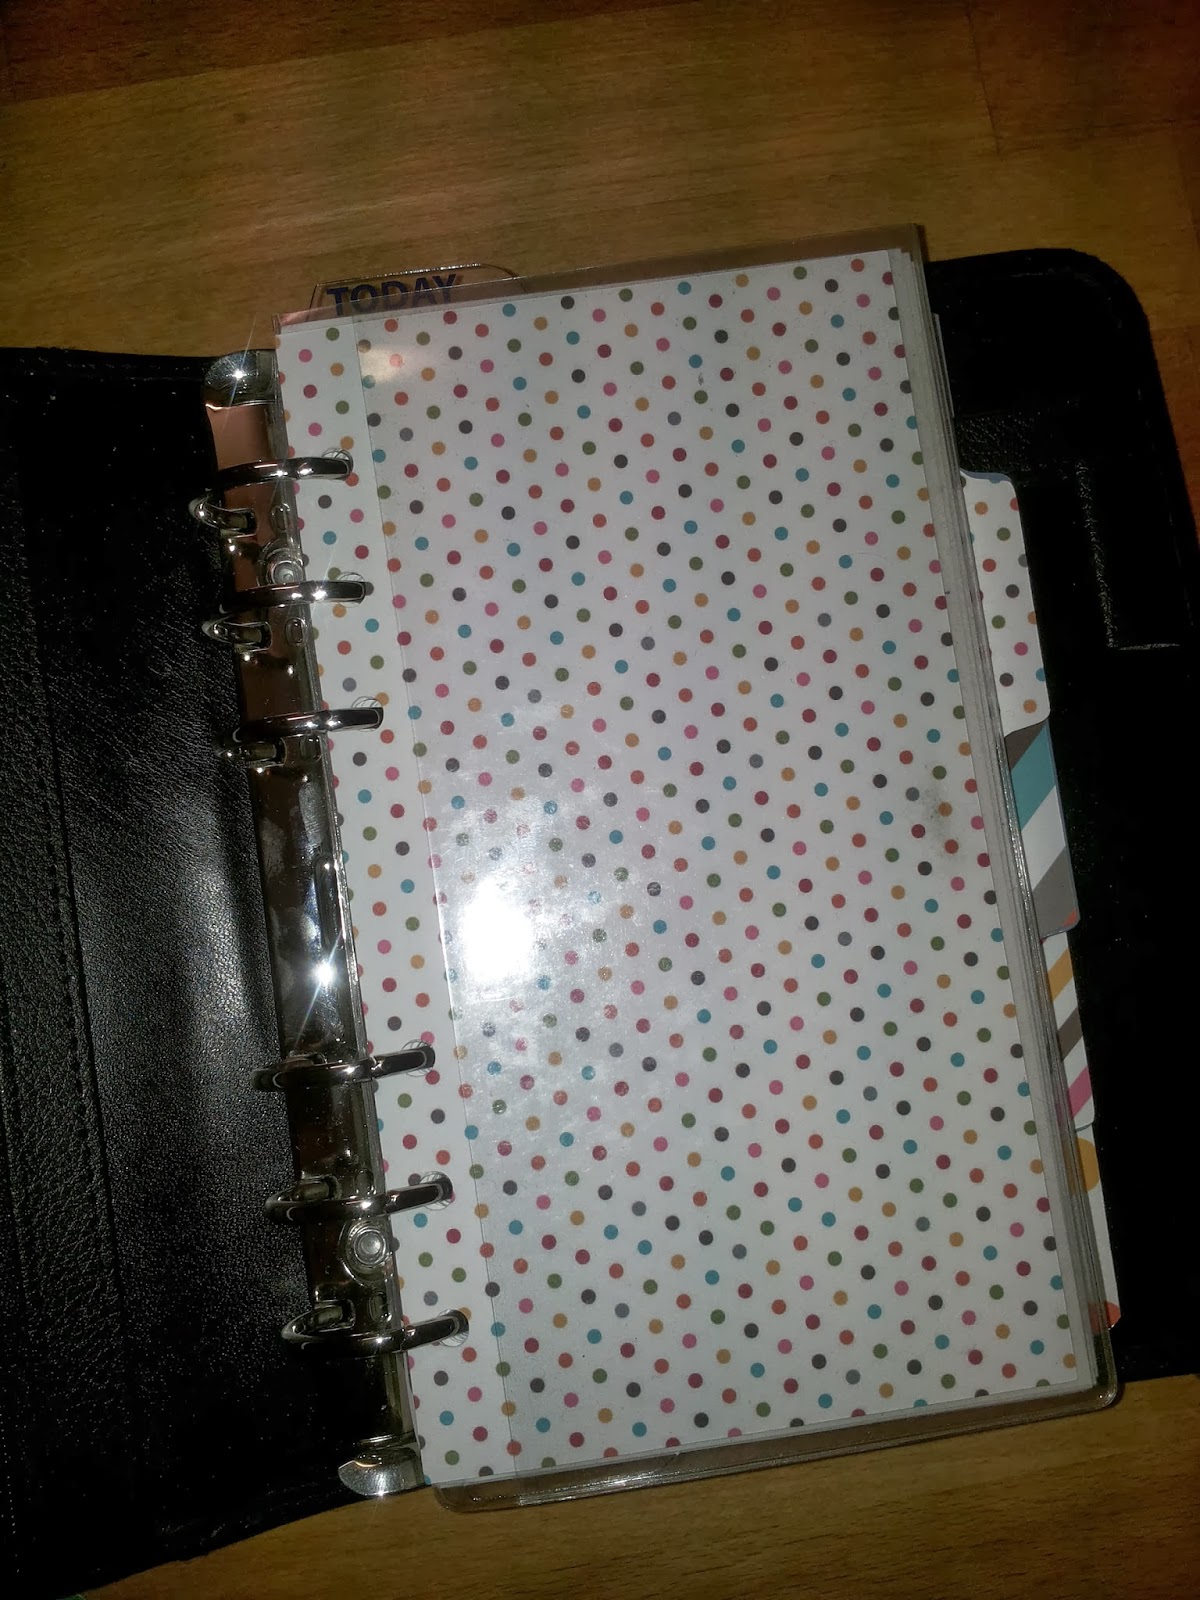
BeantwoordenVerwijderenI also scanned each individual tabbed page. There are 3 different ones in total, I used the original ones in my planner and put those in the scanner and imported them into my Silhouette software. You then cut the top and second tab twice and turn the extras upside down so they become tab 4 and 5.
VerwijderenWait, but how did you cute the actual tabs?
BeantwoordenVerwijderen